前提
・ここではWindows10で実施した
・ここではサーバPCのIPアドレスは「172.50.1.74」とする
サーバPCの設定
1. 「regedit(レジストリエディタ)」を起動 しレジストリを修正する
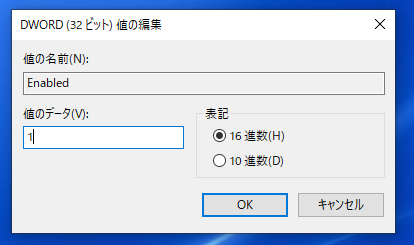
「HKEY_LOCAL_MACHINE」-「SYSTEM」-「CurrentControlSet」-「Services」-
「W32Time」-「TimeProviders」-「NtpServer」の「Enabled」の値を0→1に変更
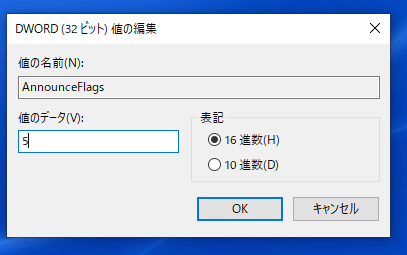
「HKEY_LOCAL_MACHINE」-「SYSTEM」-「CurrentControlSet」-「Services」-
「W32Time」-「Config」の「AnnounceFlags」の値 を a→5に変更
2.W32Timeを再起動する
管理者としてコマンドプロンプトを起動し、以下のコマンドを実行する。
・net stop W32Time
・net start W32Time
C:\Windows\system32>net stop W32Time
Windows Time サービスを停止中です.
Windows Time サービスは正常に停止されました。


C:\Windows\system32>
C:\Windows\system32>net start W32Time
Windows Time サービスを開始します.
Windows Time サービスは正常に開始されました。
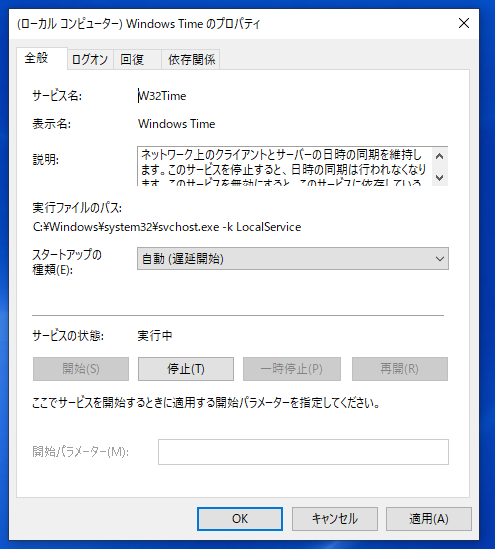
3.W32Timeを自動起動するように設定する
「Windowsシステムツール」-「コントロールパネル」-「システムとセキュリティ」-
「管理ツール」-「サービス」
の「W32Time」の「スタートアップの種類」 を 手動→自動(遅延開始)に変更
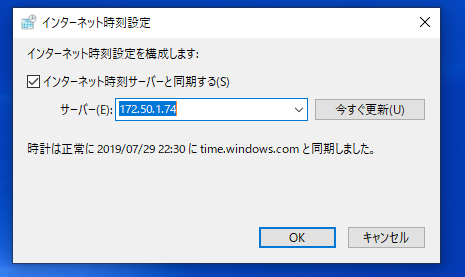
クライアントPCの設定
時計を右クリック→「日付と時刻の調整」-「別のタイムゾーンの時計を追加する」-
「インターネット時刻タブ」-「設定の変更」
サーバー欄に「サーバPCの設定」を行ったPCのIPアドレスを設定し「OK」をクリック