

リポジトリを作成する手順
1.インストーラを取得する。
https://tortoisesvn.net/downloads.html
┗for 64-bit OS
2.取得した「TortoiseSVN-1.13.1.28686-x64-svn-1.13.0.msi」を使用してインストールする。
「command line client tools」を「Will be installed on local here drive」へ変更し、SVNコマンドもインストールされるようにする。

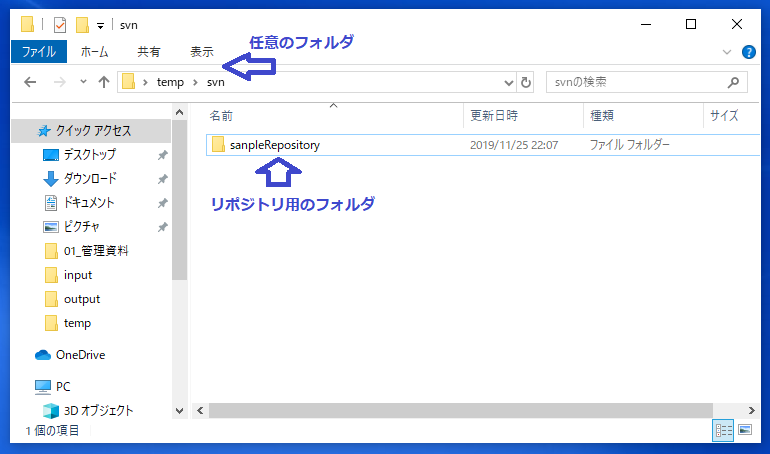
3.任意のフォルダを作成する。任意のフォルダ配下にリポジトリ用のフォルダを作成する。
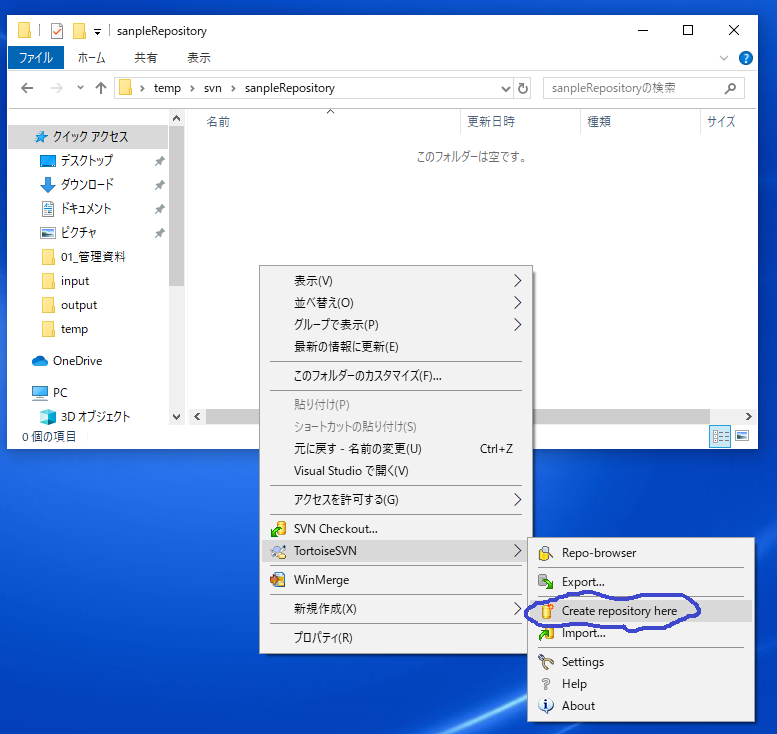
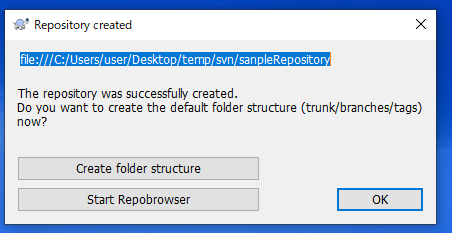
4.リポジトリ用のフォルダ配下で[右クリック]→[TortoiseSVN]→[Create Repository here]→[OK]をクリックする。
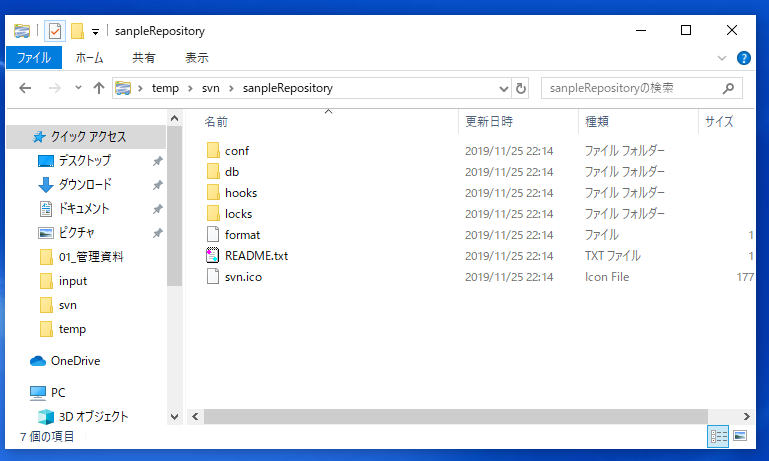
5.svn infoコマンドでリポジトリが作成されていることを確認する。
C:\Users\user>svn info file:///C:/Users/user/Desktop/temp/svn/sanpleRepository
Path: sanpleRepository
URL: file:///C:/Users/user/Desktop/temp/svn/sanpleRepository
Relative URL: ^/
Repository Root: file:///C:/Users/user/Desktop/temp/svn/sanpleRepository
Repository UUID: 93a94e46-03bb-6d46-b4cf-f23013f78818
Revision: 1
Node Kind: directory
Last Changed Author: user
Last Changed Rev: 1
Last Changed Date: 2019-11-25 23:31:13 +0900 (ŒŽ, 25 11 2019)


C:\Users\user>
SVNへファイルを登録する手順
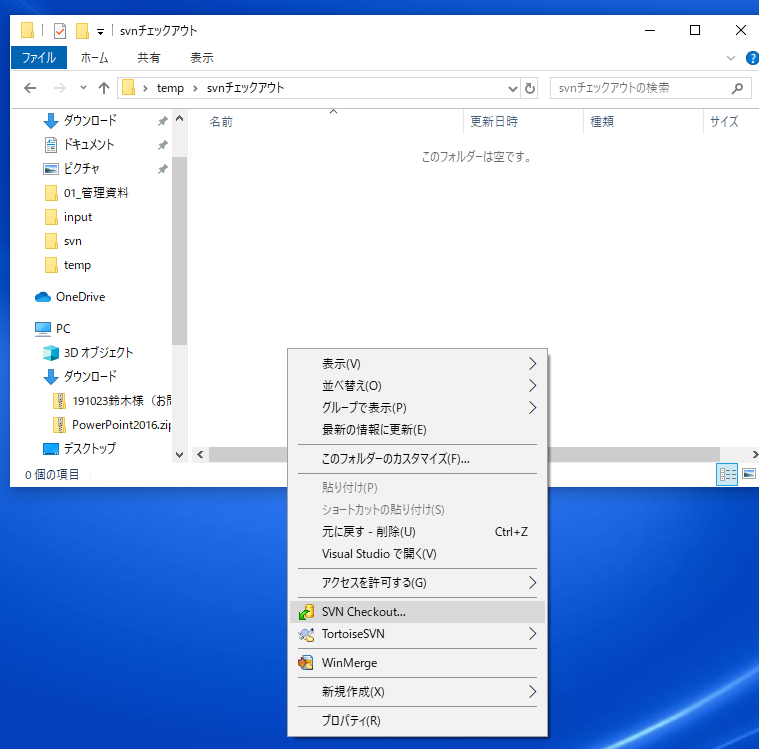
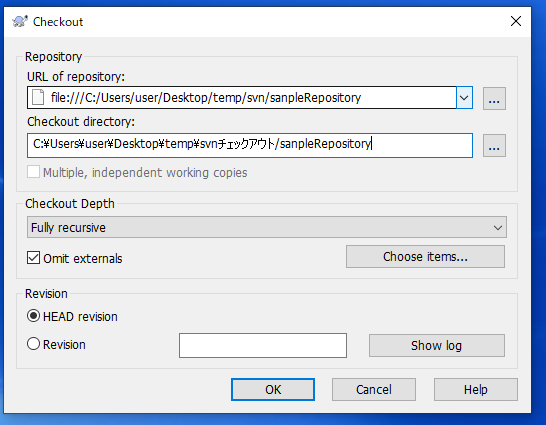
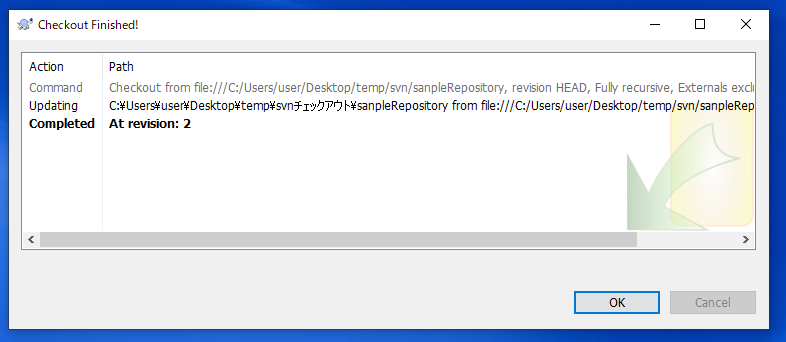
1. チェックアウト用の任意のフォルダを作成し、リポジトリをチェックアウトする。
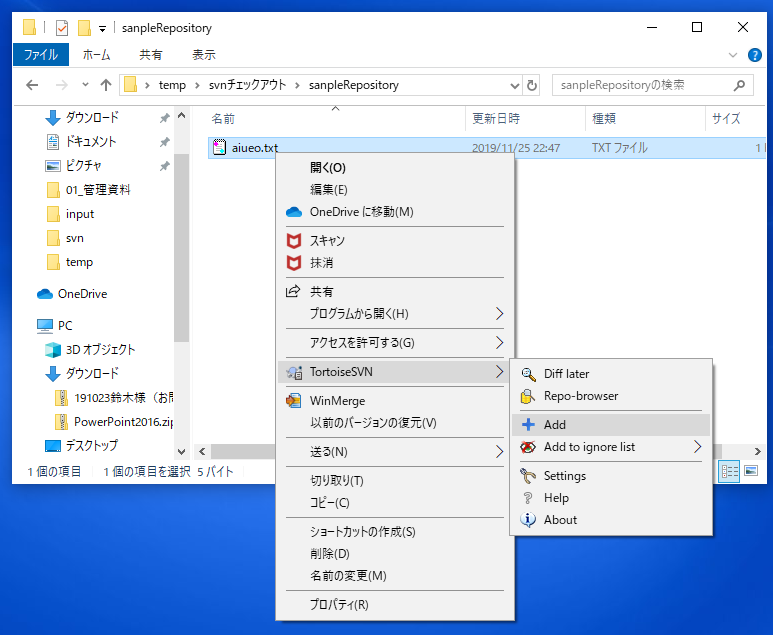
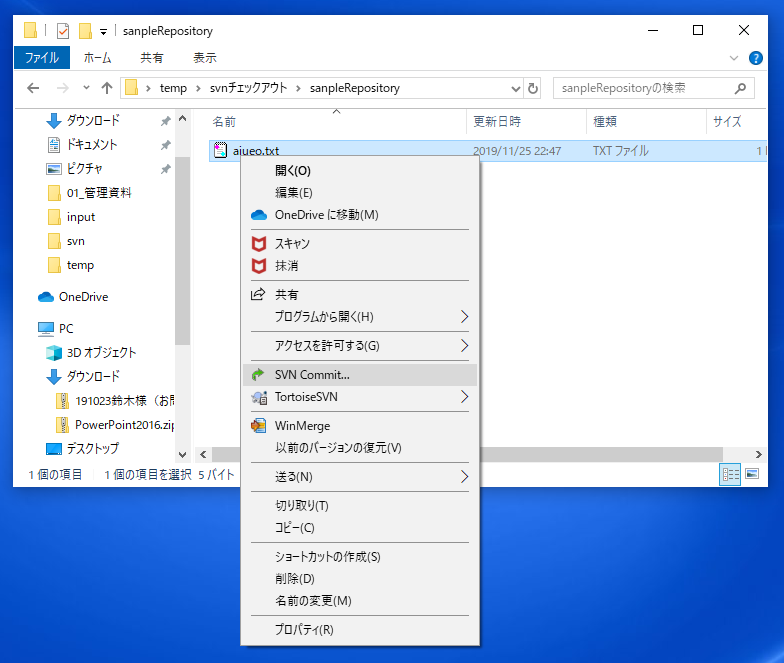
2.チェックアウトしたリポジトリ配下にファイルを作成し、
・[右クリック]→[TortoiseSVN]→[Add]
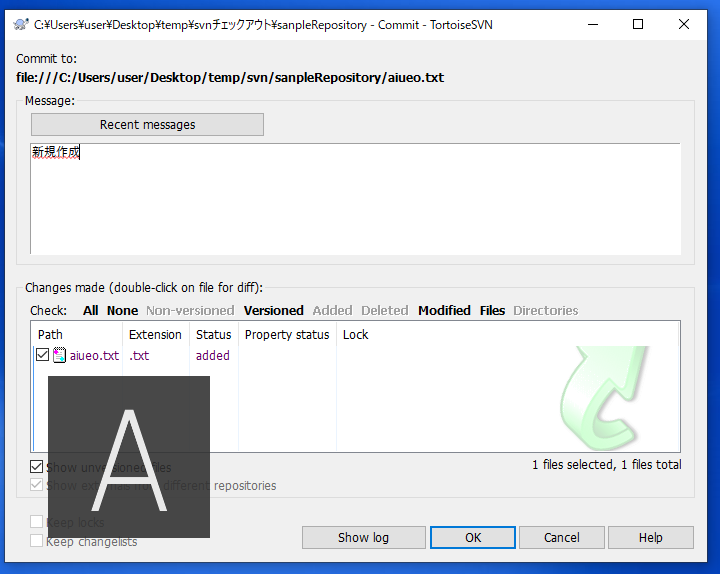
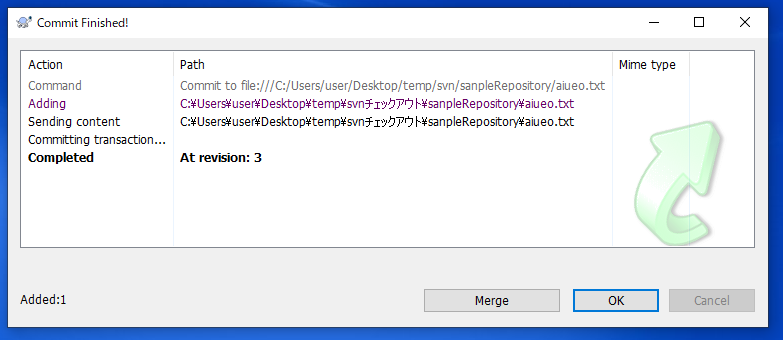
・[右クリック]→[SVN Commit]
・コメントを任意で入力し[OK]
をクリックする。
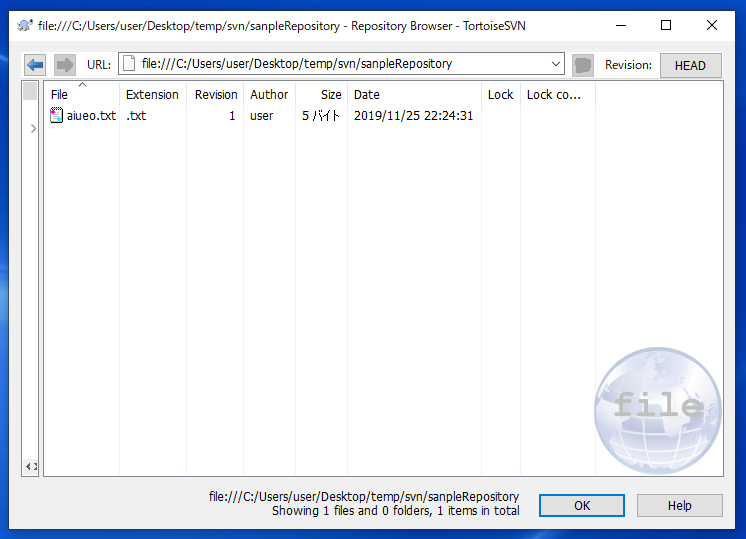
3.リポジトリブラウザで確認する。
その他
必要に応じてアクセス制御をする
┗グループAを作成しSVNへのアクセス権限を付与したいアカウントを登録する
┗作成したリポジトリ(フォルダ)を共有にし、グループAが読み書きできるように設定する